How I upload the best quality photos to Facebook 2023
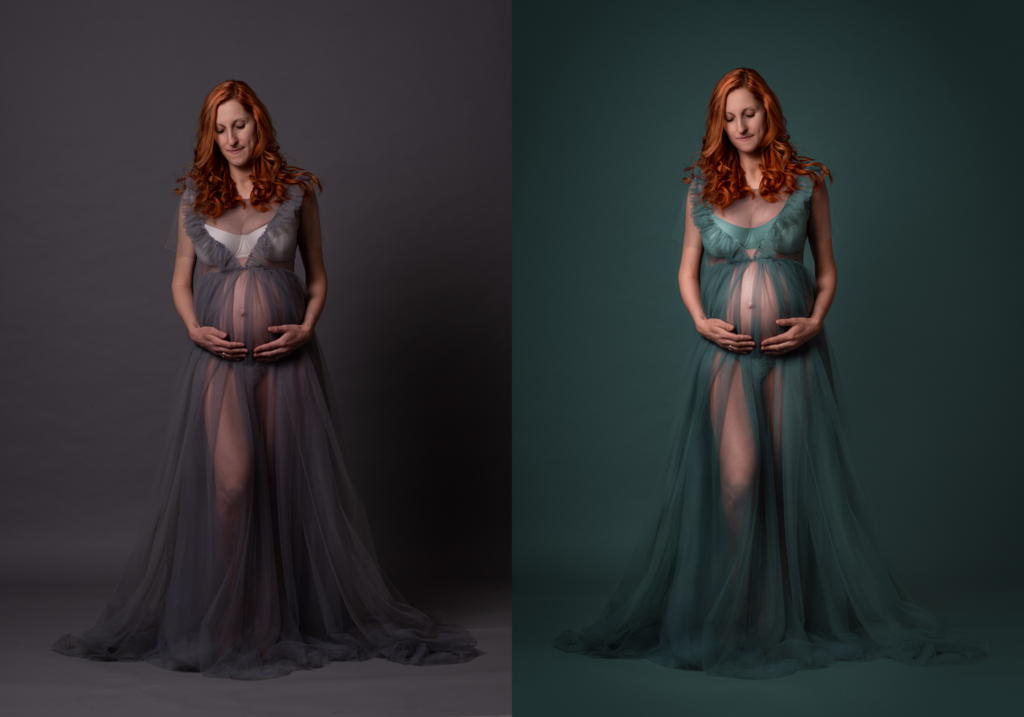
Facebook provides a great opportunity to showcase our photography skills to a global audience, including our loved ones, and clients. However, as photographers, we often notice that our images appear compressed and lose their crispness and details once they are uploaded onto Facebook.
Given the huge number of images that are shared on Facebook on a daily basis, the platform uses compression algorithms to handle the load. Unfortunately, these algorithms apply the same level of compression to high-resolution photos, which can be frustrating for photographers like us. That’s why you’re here reading this post – to find a solution! As you may have noticed, Facebook supports only 720px, 960px, or 2048px on the long edge, which means that larger images are inevitably compressed. So here’s how to work around those compression issues!
In this video, I’ll show you how to upload the best quality photos to Facebook! We want our work to look awesome. Now you’ll learn how to optimize your photos for Facebook. It’s a simple process that uses photoshop and the Bicubic sharper downscaling option!
If you want to create sharp images for Facebook then watch this video of the process so you can upload the best quality photos to Facebook!
Step 1. Open your image in Photoshop

Step 2. Press ALT+CTRL+I (Windows) or Command+Option+I (Mac)

Step 3. Change your images longest Pixel edge to 2048px, then tick the “Resample” box and select “Bicubic Sharper (Reduction)

Step 4. Save the image as a PNG and ensure that the ICC profile checkbox is ticked

Step 5. Upload to Facebook 🙂
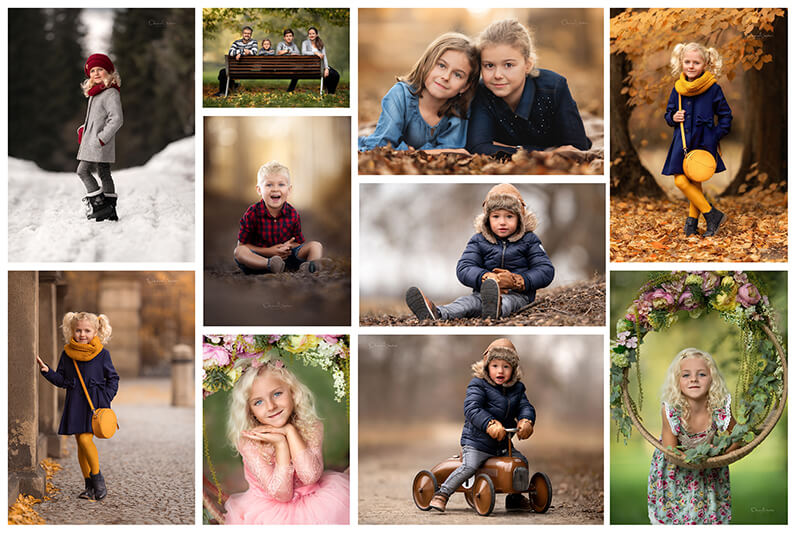
Be sure to go and check out my Facebook Business Page where you’ll see the results of the above steps. I’ve never had an issue with image Quality on Facebook! Visit my Page at HERE
The great thing about going this route is that I simply copy my images off Facebook onto my phone and then load them up to Instagram and get awesome sharp results! When I upload to Instagram I’ll add in some extra sharpening inside the edit options! It works a charm! Facebook and Instagram are fantastic platforms to be able to share your work with the world so it’s important that they look great and have some sort of consistency. You want people to say “Ah I recognize those photos! Looks like Susan’s! Oh wait yes it is Susans!)
I hope this helps you understand how to upload the best quality photos to Facebook!
Check out the growing collection of tutorials HERE